
The Chatbot feature allows you to automatically reply to messages that contain specific keywords. It’s ideal for answering frequently asked questions, handling inquiries after office hours, or guiding users without human intervention.
💡 Why Use Chatbot?
- Automatically respond to customers at any time by keywords
- Save time by handling repeated questions without manual replies
- Guide users before a human agent takes over
- Optionally connect with OpenAI for smarter AI-based replies
⚠ Important Notes
You might see messages like:
“Waiting for this message. This may take a while”
Or sometimes, the chatbot does not respond to first-time users
This usually happens when:
- The user’s message has not fully synced with WhatsApp
- It is the user’s first time messaging after you connected to Click4Wasap
✅ To reduce these issues:
- Enable Greeting Message to welcome new users
- Enable Auto Reply to send a fallback reply when no keyword is matched
Go to WhatsApp > Features > Chatbot
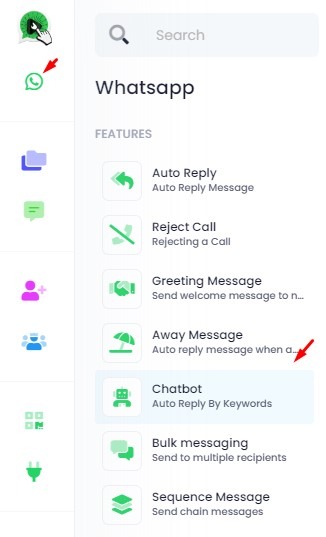
Go to the WhatsApp menu, then click Features and select Chatbot.
This is where you create automatic replies based on keywords sent by users.
Step 2. Choose WA Account & Add New Chatbot
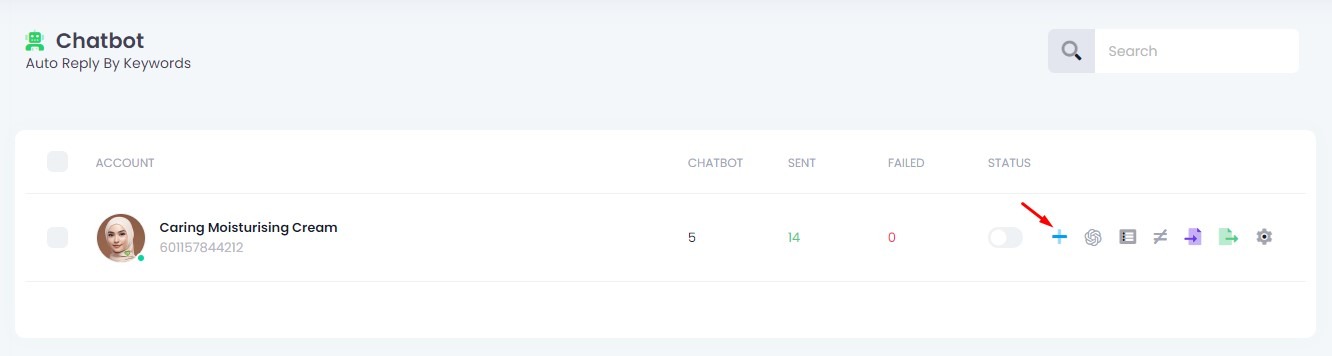
Select your WhatsApp account, then click the ➕ (plus icon) to create a new chatbot for that account.
Step 3. Set Up Chatbot
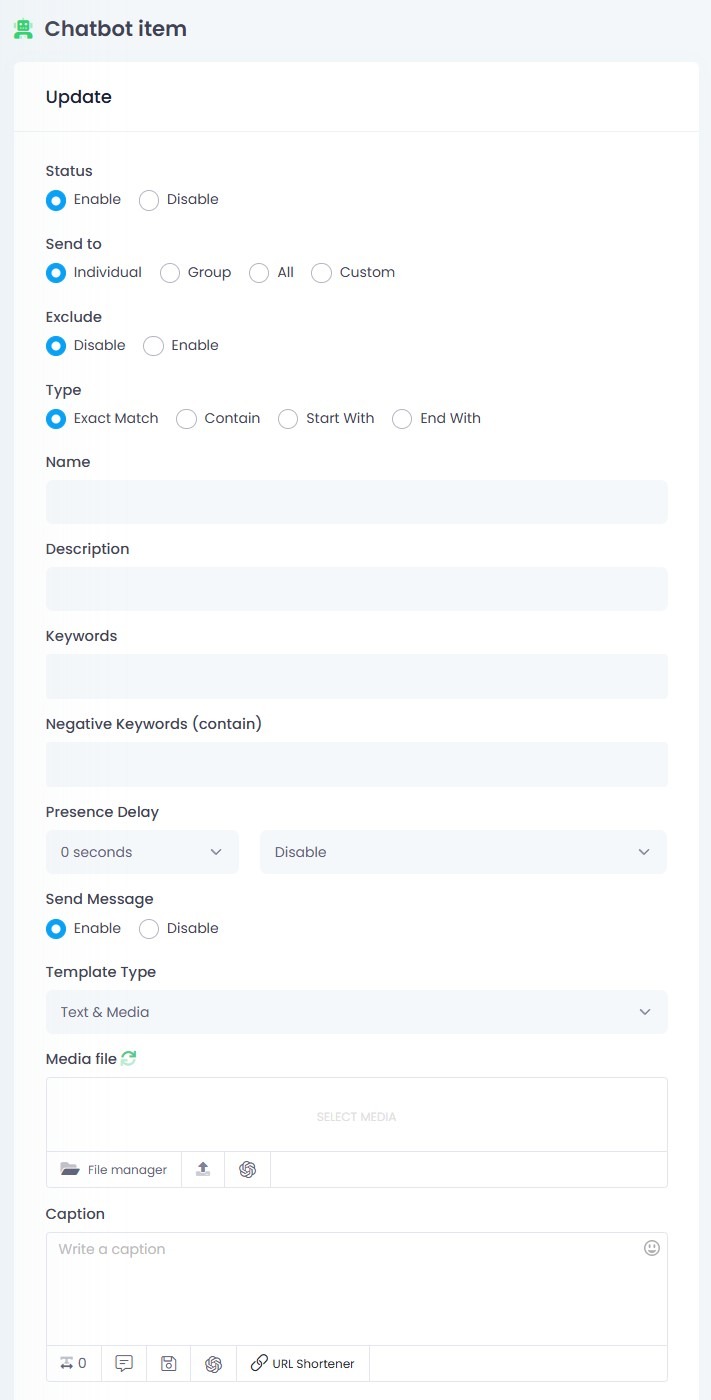
1. Enable the Chatbot
Set Status to Enable to activate this chatbot reply.
2. Select Who to Send To
Choose your target audience:
- Individual – Reply only to personal WhatsApp chats
- Group – Reply only to WhatsApp group chats
- All – Send to both personal and group chats
- Custom – Manually select specific targets:
- Contact Groups – Choose from saved groups
- WA Contacts – Type or select specific WhatsApp numbers
- WA Groups – Choose WhatsApp groups to include
3. Exclude Recipients (Optional)
Set Exclude to Enable if you want to skip specific Contact Groups from receiving this reply.
4. Choose Keyword Match Type
Decide how the chatbot should detect messages:
- Exact Match – Message must match the keyword exactly
- Contain – Keyword can appear anywhere in the message
- Start With – Message must begin with the keyword
- End With – Message must end with the keyword
5. Fill in Chatbot Details
- Name – Internal name for this chatbot
- Description – Optional notes for your reference
- Keywords – The trigger words that activate this reply
- Negative Keywords (contain) – Words that block this reply (only for Contain type)
6. Set Presence Delay (Optional)
Presence Delay makes the chatbot appear more human by simulating a WhatsApp status like typing or recording before sending a reply.
Settings:
Delay Time: Choose between 0 to 25 seconds
Presence Type:
- Typing – shows “typing…” status
- Recording – shows “recording…” status
- Disable – no presence status is shown
📌 Important Notes:
- If you choose 25 seconds but set Presence Type to Disable, the delay will not work.
- Only one Presence Delay can be active at a time.
If multiple chatbots are triggered at once, others will queue and wait their turn to show presence.
This feature improves user experience by making the reply feel natural, especially in live conversations.
7. Enable Message Sending
Make sure Send Message is set to Enable so your reply will be sent.
8. Select Template Type
Choose the reply format:
- Text & Media – Message with optional image, video, or audio
- Location – Send a map location
- vCard – Share contact information
9. Write Your Chatbot Message
Use the Caption field to enter your reply message.
If using Text & Media, you can upload media files using the icons below the caption box.
Keyword Match Types
| Type | Description | Example Keyword | Example Message | Will Trigger? |
|---|---|---|---|---|
| Exact Match | The message must exactly match the keyword | hello | hello | ✅ Yes |
| Exact Match | The message must exactly match the keyword | hello | hello there | ❌ No |
| Contain | Keyword can appear anywhere in the message | order | I want to order now | ✅ Yes |
| Start With | Message must begin with the keyword | hi | hi, how are you | ✅ Yes |
| Start With | Message must begin with the keyword | hi | can you say hi | ❌ No |
| End With | Message must end with the keyword | thanks | thanks for your help | ✅ Yes |
| End With | Message must end with the keyword | thanks | thanks a lot | ❌ No |
🔗 Using AND Conditions (&&)
You can use && to require multiple keywords in one message.
For example: hi&&you

| Message | Will Match? |
|---|---|
| Hi, how are you? | ✅ Yes |
| Hi, today is sunny | ❌ No |
📌 Works only with the Contain type.
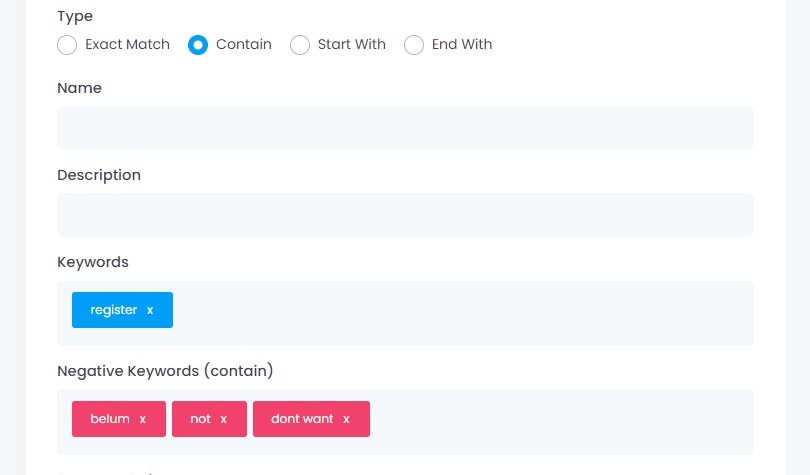
🚫 Negative Keywords (Filter)
Negative keywords block certain messages from triggering the chatbot. Even if the main keyword is present, the chatbot will not respond if any negative word is found.
Example Configuration:
- Keyword: register
- Negative Keywords: belum, not, dont want
| Message | Result |
|---|---|
| belum register | ❌ Blocked |
| not register yet | ❌ Blocked |
| I dont want to register | ❌ Blocked |
| I want to register now | ✅ Responds |
📌 Works only with the Contain type.
🚫 Negative Keywords with AND Condition
You can combine two or more words using && inside Negative Keywords. This will block the chatbot reply only when both words appear in the same message.
Example Configuration:
Type: Contain
Keyword: register
Negative Keywords:
- belum&®ister
- not&®ister
- dont want&®ister
| Message | Result |
|---|---|
| belum register | ❌ Blocked |
| not going to register | ❌ Blocked |
| I dont want to register | ❌ Blocked |
| I want to register | ✅ Responds |
| belum daftar | ❌ No reply |
📌 Notes:
- Only works with the Contain type
- You can mix single-word and paired-word negative filters
- Keyword and negative matching are not case-sensitive
Step 4. Click the Submit Button
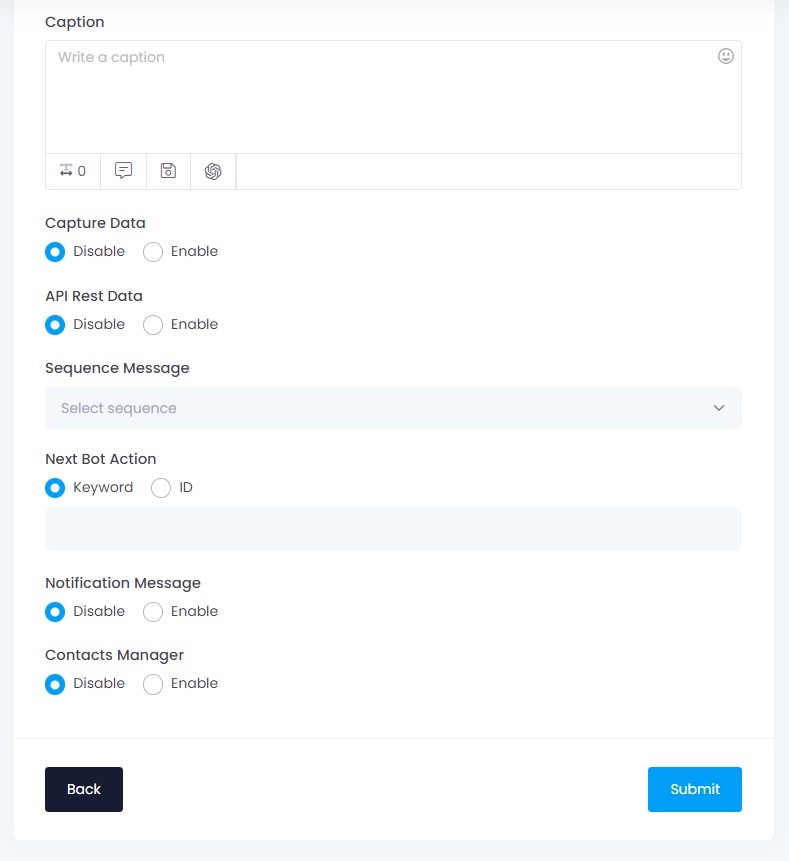
Make sure you save your chatbot setup by clicking the Submit button.
❗ Please Read Before Submitting
⚠️ If Send Message is disabled, you must enable at least one of the following features below to proceed:
- ✅ Sequence Message – for follow-up automation
- ✅ Next Bot Action – to trigger the next chatbot step
- ✅ Notification Message – to alert your admin or group
- ✅ Labels Manager – to tag the user with a label
- ✅ Contact Manager – to add the user into a contact group
🚫 If none of these are enabled, the system will block submission and show this error
Step 5. Enable Chatbot Status
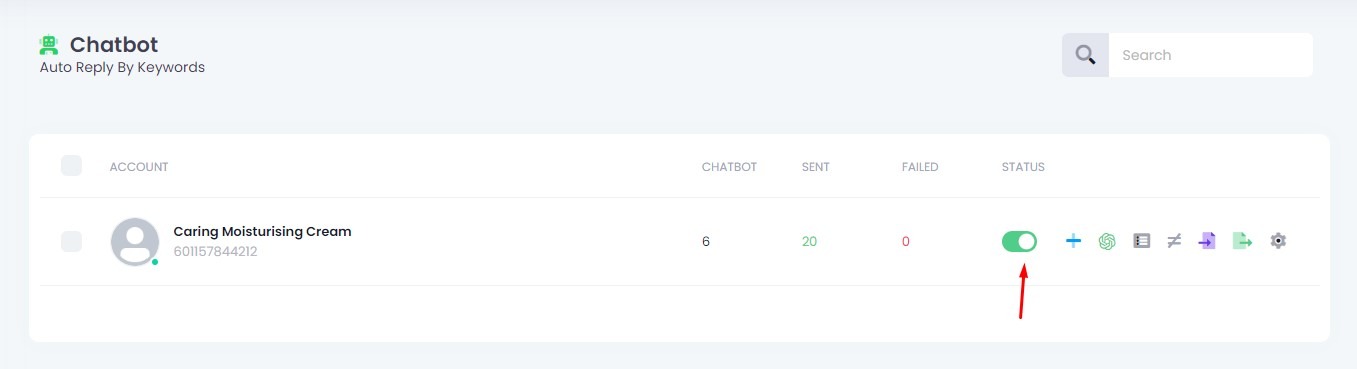
🎯 Important!
- After submission, enable the chatbot status for your WhatsApp account.
- If not enabled, the chatbot will not respond to messages.
Advance Features
- These features are optional.
- Trigger Limit
- Capture Data
- Sequence Message
- Next Bot Action
- Notification Message
- Labels Manager
- Contacts Manager