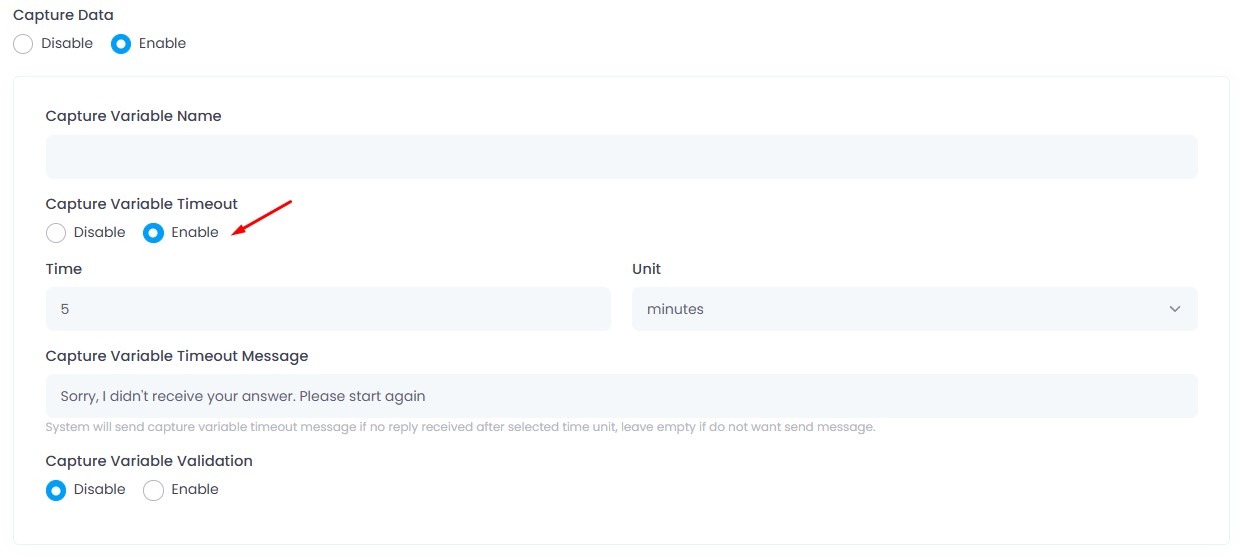
The Capture Data feature allows you to save your customer’s reply after a specific chatbot message.
This means, once your chatbot asks a question (e.g. “What’s your name?”), the next message your customer sends will automatically be saved into a variable that you define.
⚠️ This is not a form. The system simply saves the next reply after the chatbot message is sent.
Step 1: Enable Capture Data
When setting up your chatbot message, toggle Enable Capture Data to ON.
Step 2: Enter Variable Name
Define a variable name to store the reply.
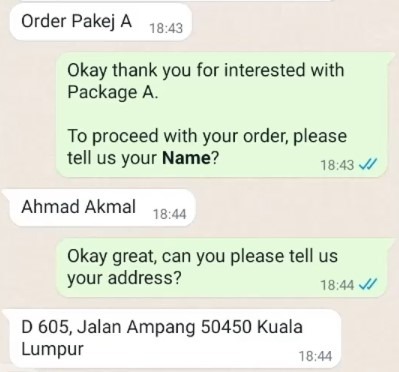
Example Flow:
💬 Chatbot 1
					Hi! Thanks for your interest.
May I know your *name*?
Capture Data: Name
Shortcode: [Name]
✅ Whatever the customer replies next will be saved as [Name].
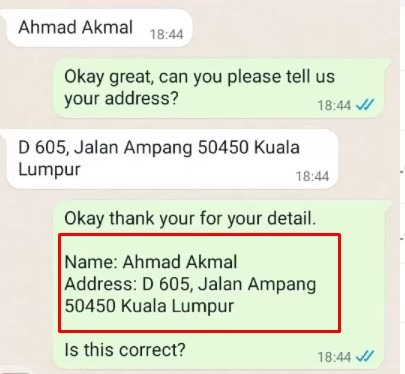
💬 Chatbot 2
Thanks [Name]! May I know your address?
Capture Data: Address
Shortcode: [Address]
✅ The customer’s next reply will be saved as [Address].
💬 Chatbot 3
					Here’s what I have:
Name: [Name]
Address: [Address]
Is this correct?
⚠️ Tip: Use Exact Match Type for keywords to avoid accidental triggers. Example keyword: order_detail
⏳ Capture Variable Timeout (Optional)
Add timeout to handle cases when the customer doesn’t reply.
⏱ Set wait time (e.g. 60 seconds)
💬 Timeout message: “Looks like you’re away. Please reply to continue.”
Click “Submit” to save your contact template.
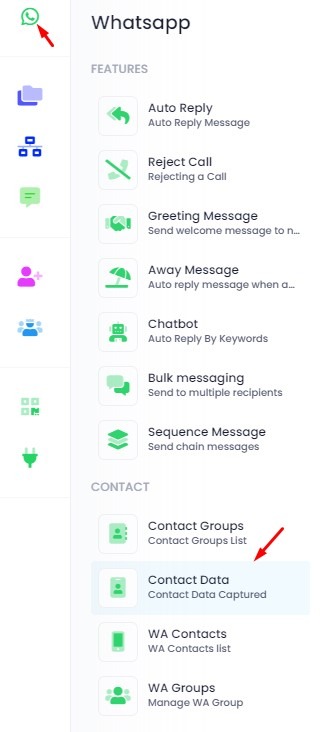
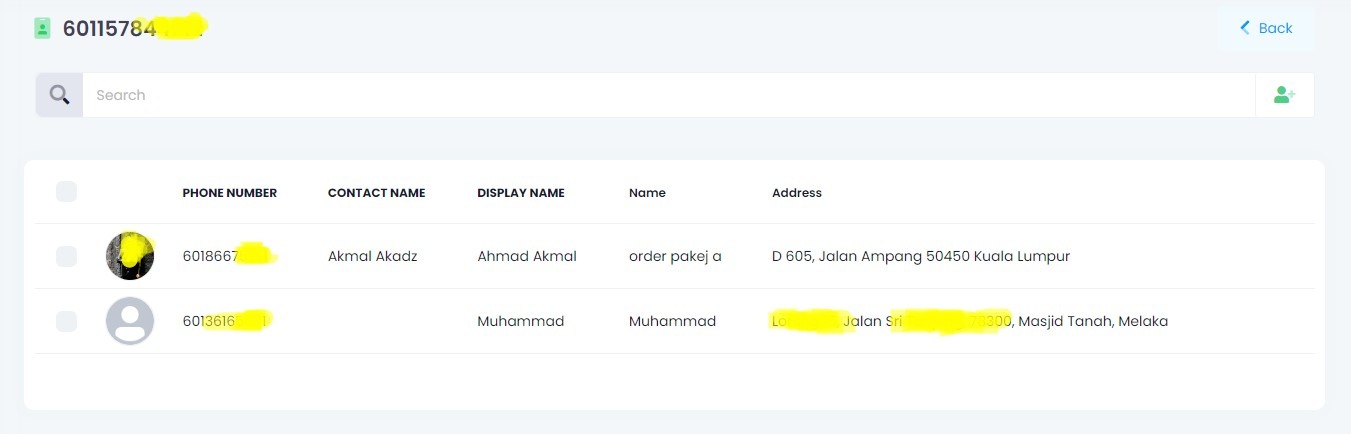
View Contact Data
Check the captured data under:
WhatsApp > Contact > Contact Data
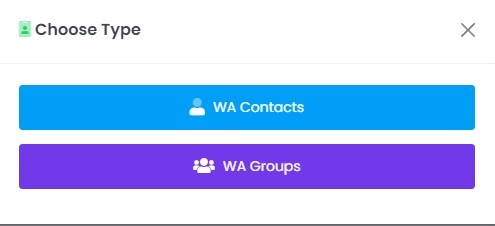
Click on WA Account or Contact Data List
Choose from WA Contacts or WA Groups
You can view the data here, and assign it to contact group using Assign Button
Refer here
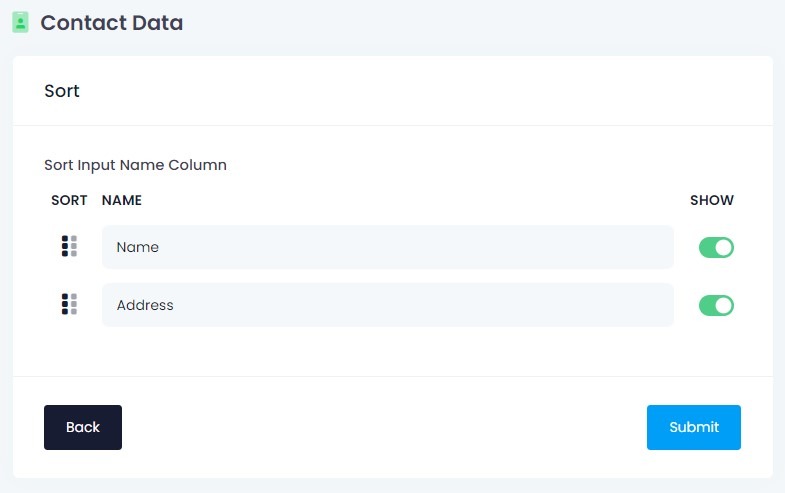
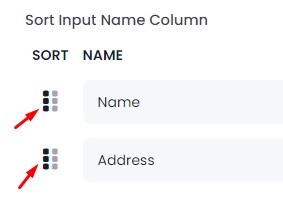
Sort Contact Data
If you have capture many variable and want to view only some variable, you can use Sort features.