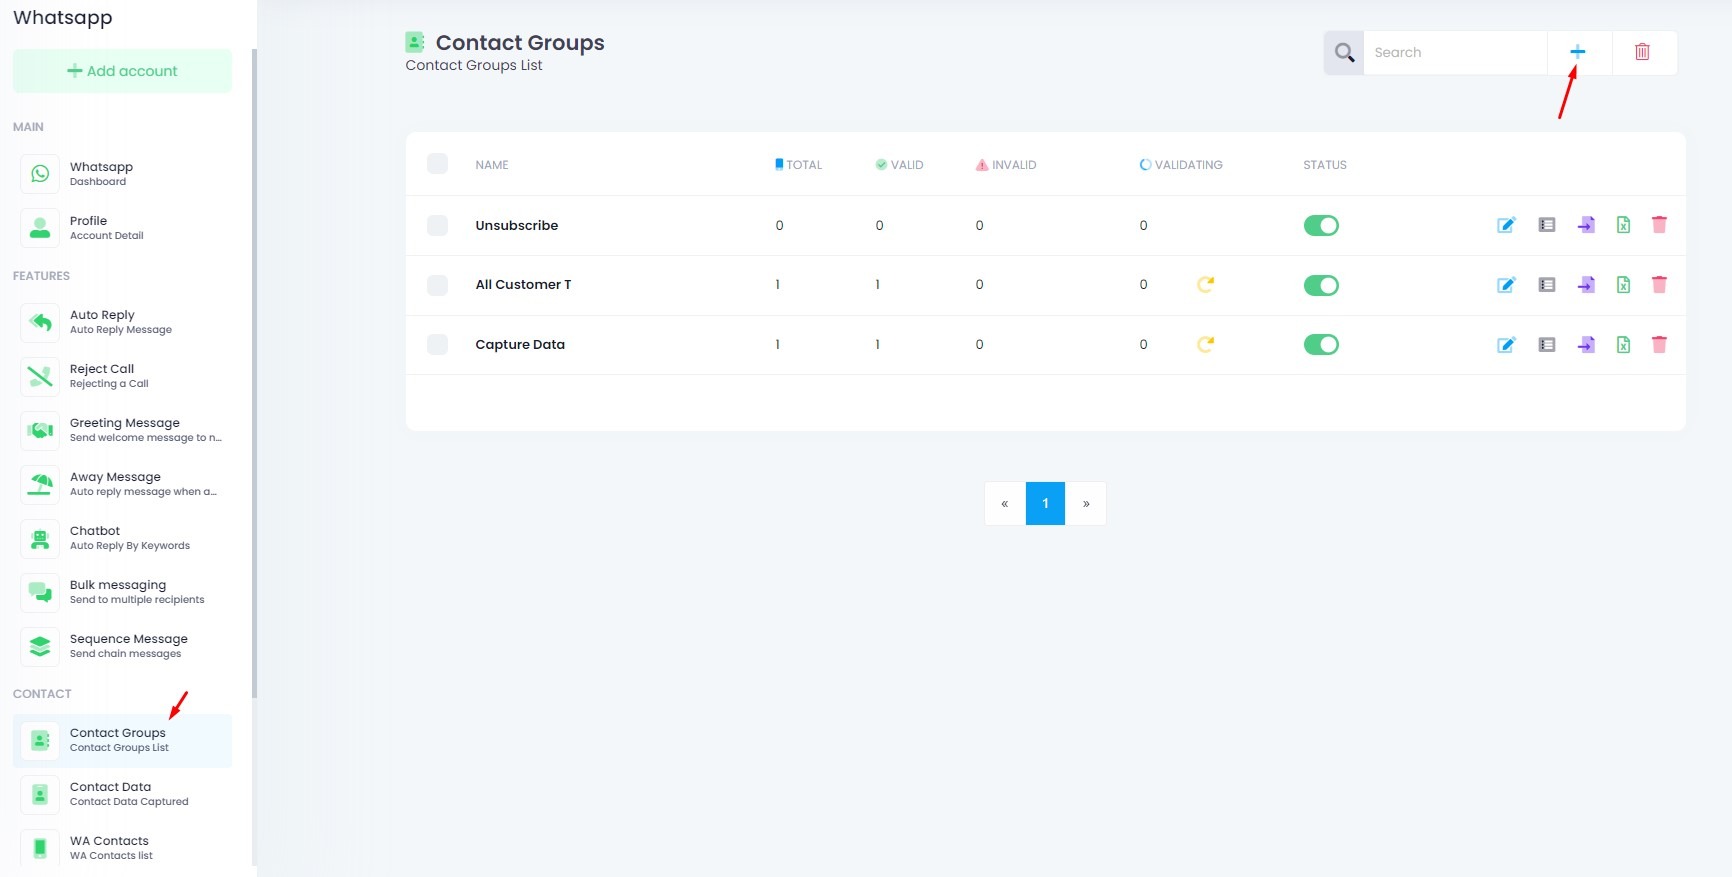
📁 Contact Groups: Organize & Segment Your WhatsApp Contacts
Contact Groups help you organize, segment, and manage contacts for automation, broadcasts, and chat flows.
You can import contacts manually (Excel or Form), or automatically assign them using chatbot, auto-reply, and contact manager rules.
🔹 What is a Contact Group?
A Contact Group is a smart way to group contacts together so you can:
✅ Where Can Contact Groups Be Used?
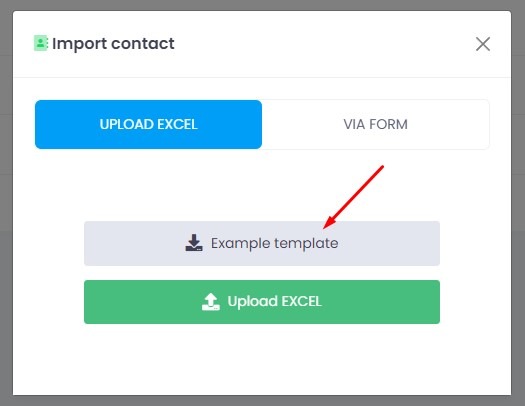
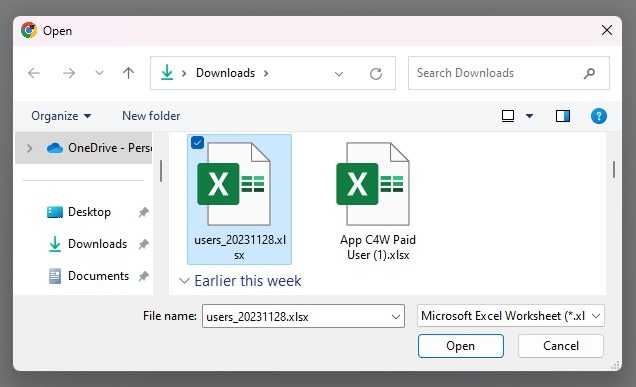
📥 Option A: Upload Excel File
This is recommended for uploading multiple contacts with additional info like name, email, or custom fields.
Before uploading:
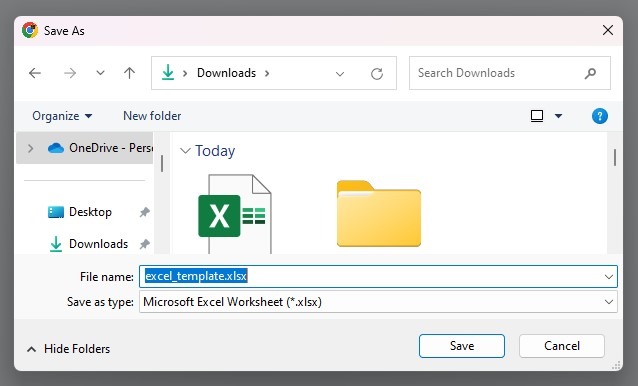
If you’re including any date fields in your contact variables (e.g., birthday, order date, etc.), you must use the correct date format.
✅ Correct Format:
❌ Do NOT use:
*14/03/12
*14 March 2012
👉 How to Fix in Excel:
*
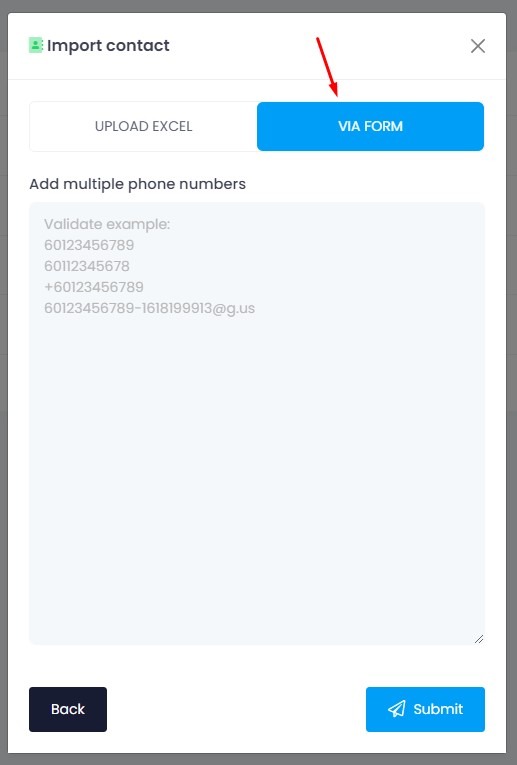
This method allows you to manually input contacts without using an Excel file. It’s best for adding a small number of contacts quickly.
Choose “Import via Form” instead of uploading an Excel file.
Add Phone Numbers
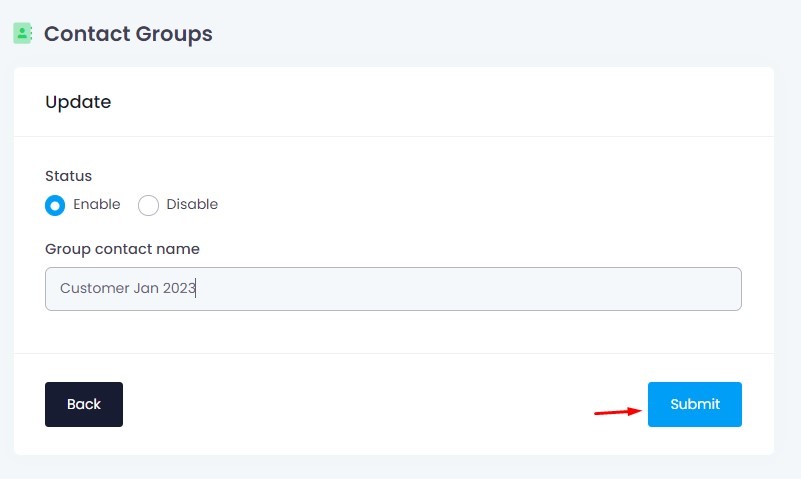
Click Submit
Once all numbers are entered, click the Submit button to import them into the group.
💡 Notes:
This method only captures phone numbers.
Use Option B when:
You don’t have an Excel file prepared.
You want to add just a few contacts quickly.
For adding extra variables (e.g., name, email), use Option A: Excel File Upload.
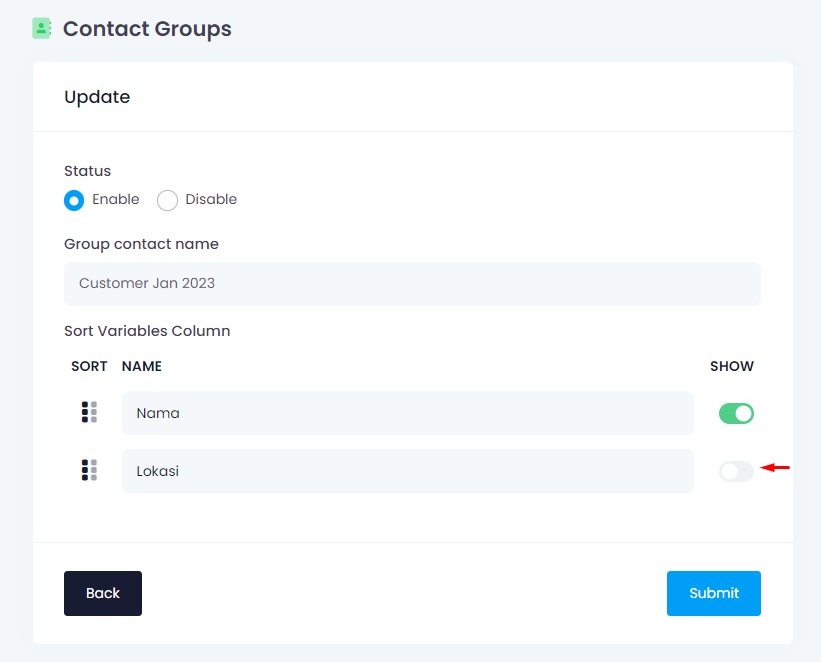
Change group name if needed
On Sort Variable Column:
📝 Hidden variables will not be shown in the contact list but are still stored.
📝 Hidden variables will not be shown in the Contact List but are still stored.
🔒 Best Practices
Package
JoinDate
Any questions related to Contact Groups?
🟢 Online | Privacy policy